
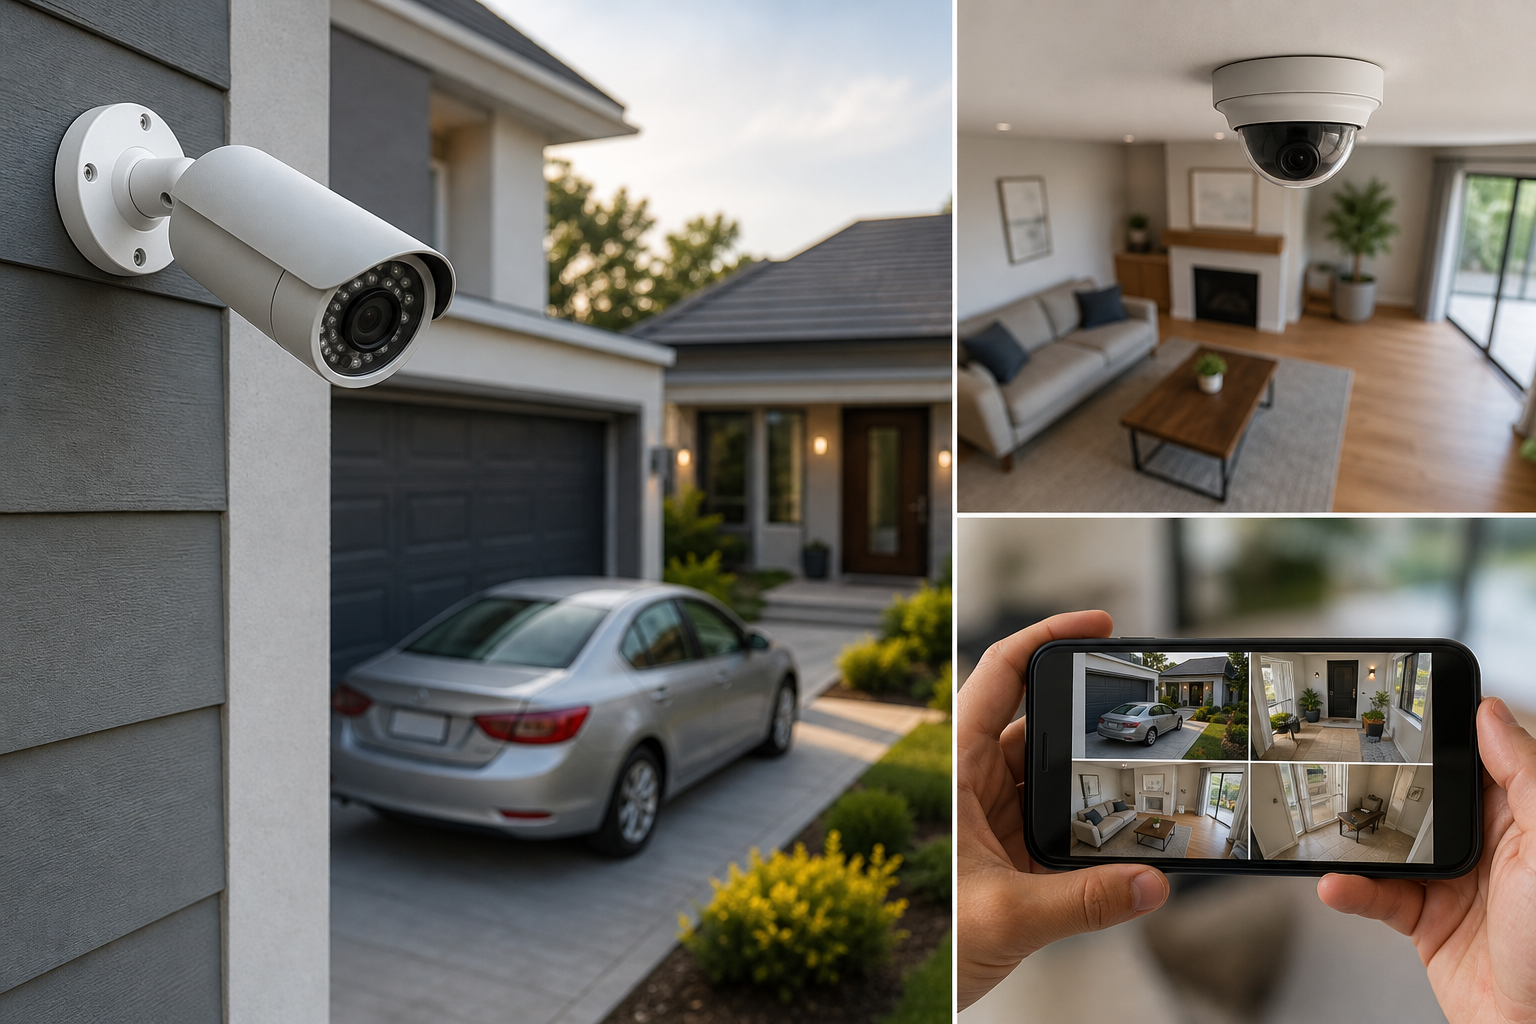
How to set security camera angles for front doors, driveways and rooms
When you search for security camera angles you want practical steps that produce usable video, not guesswork. This article gives clear placement and tilt instructions for common spots — front door, driveway, backyard, living room and garage — explains how field of view and lens choice change what you see, and provides a short testing checklist plus explicit stop points where you should call a professional.
Start with a quick site survey and safety limits
Before drilling or buying lenses, record basic facts so you can test angles and share a map with an installer. Your site survey should take 20 to 60 minutes and produce useful measurements for later adjustments.
Site survey steps
- Take clear photos of each intended mounting location from ground level and from the likely view of a would-be intruder.
- Note approach paths: primary pedestrian route, vehicle approach and any secondary routes such as alleyways or shared lanes.
- Measure mounting height ranges you can access and check for obstacles like soffits, gutters and power lines.
- Record typical lighting at different times of day and under seasonal conditions so you can test night and winter performance.
- List mounting restrictions: landlord, strata, homeowner association or municipal permits that might limit exterior work.
- Identify power and network access points for PoE or Wi Fi, and note where cabling will run visibly or through walls. PoE typically gives more reliable power and network than battery or Wi Fi for critical cameras.
True Vision Surveillance lists CCTV installation and network cabling among its services, which is useful when you prefer a professional site survey or need cable routing and conduit installed before cameras go up. See the company website for service details and contact options.
Front door and main entry: heights, tilt and lens suggestions
The front door is the highest priority for identification. You have two common approaches: a video doorbell mounted at eye level for facial identification, or a higher camera mounted above the door or on the second storey angled down to reduce tampering.
For above-door mounting, follow authoritative guidance and mount above eye level, for example near second-storey height around 3 m, angled down to capture faces while reducing the chance of tampering. This placement and the eye-level alternative are both recommended in placement guides that balance facial capture and vandal resistance (Guardian Eye camera placement guide).
Lens and field-of-view advice for entries
- Video doorbells at eye level produce the best facial framing for someone standing at the threshold.
- If using a fixed camera above a door, choose a lens with a moderate field of view so faces remain large enough in the frame. Field of view determines how much area a camera sees and how much detail remains at distance, so a too-wide lens will make faces small and reduce identification effectiveness (CriticalTS field-of-view guide).
- A small amount of downward tilt reduces glare from porch lights and helps keep faces visible rather than silhouetted.
- Test both options before permanent installation. Temporary mounts let you compare daytime and night footage and choose the best balance of identification and vandal resistance.
Driveways and long approaches: aiming for faces and licence plates
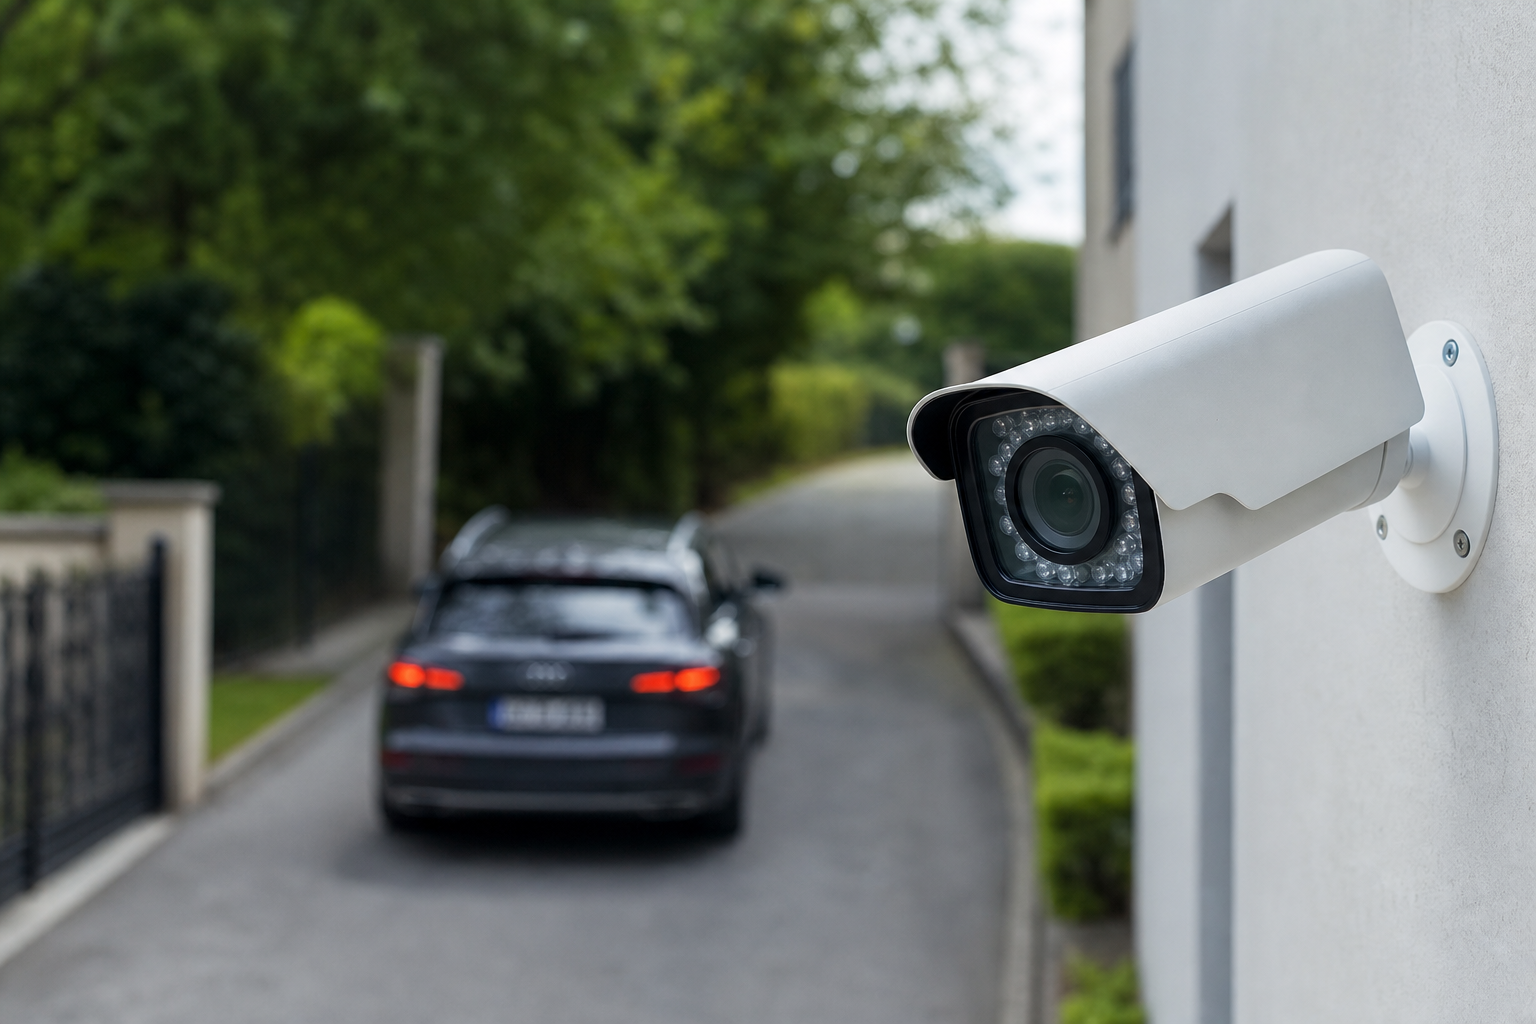
Driveways present a trade-off between wide coverage and detail. A wide-angle camera captures the entire approach but reduces pixel detail at distance. A narrow or varifocal lens increases detail for faces and licence plates but covers a smaller area.
Mounting height and tilt for driveways
- Mount higher than eye level to reduce tampering and to get a longer sightline. If you can access a second-storey mounting point, you will get a longer unobstructed view and a safer mounting location.
- A lower, angled mounting can help capture licence plates head-on. For plate capture you may need a dedicated camera with a narrower field of view and higher resolution positioned to see the vehicle front or rear squarely.
- When the approach is long, consider two cameras: one wide-angle to detect motion and one narrow-angle or zoom camera dedicated to plate and facial detail.
Use the field-of-view trade-offs when choosing lenses. If you need both coverage and identification consider a combination of fixed wide cameras and a PTZ or varifocal unit. The role of FOV in these choices is explained in more detail by equipment guides that show how angle and lens selection affect detail at distance (CriticalTS field-of-view guide).
Reduce sun and headlight glare by tilting the camera slightly away from direct light sources and by using physical shades or hoods on the camera body. If headlights wash out plates at night consider an additional angled camera or an IR capable unit with proper exposure control. Mounting on a pole or a purpose-built post can give more flexible aiming than eaves or walls when no higher mounting point exists.
Backyards, garages and privacy lines: placement, privacy and Canada-specific weather tips
Yard cameras often balance coverage with privacy. Respect neighbour privacy and municipal rules. In many cases pointing cameras at your own property is fine, but avoid intentionally pointing them into neighbour windows or private areas. When in doubt, confirm rules with local authorities or your strata.
Mounting and winter-proofing tips
- Mount cameras higher to discourage tampering, but keep the angle shallow enough to capture faces when people are near the camera.
- Add a small downward pitch and protect camera housings with a hood or shelter to help shed snow and ice in winter. Position mounts under roof overhangs when possible to reduce direct exposure to freezing precipitation.
- Choose weather-rated equipment and ensure connectors and conduit are sealed against moisture. Cold temperatures can affect batteries and Wi Fi performance, so use wired PoE where reliability is critical.
- Consider motion zoning and sensitivity adjustment for yard cameras to reduce false alarms from wind, wildlife or falling snow.
For garage interiors and outbuildings consider lighting and placement that minimises reflections from vehicle surfaces and prevents backlit silhouettes.
Indoor rooms: corner placement, height and reducing blind spots
Corner placement is efficient for rooms. Mounting a camera high in a corner produces a broad field of view and reduces blind zones compared with mid-wall positions. Authoritative placement guides recommend corner placement at roughly 2.5 m for many rooms to get full coverage without excessive tilt (Guardian Eye camera placement guide).
Indoor practical tips
- Mount corners at about 2.5 m when ceiling height allows. This gives a wide view and keeps the camera out of reach.
- Avoid placing indoor cameras so they face large reflective surfaces such as TV screens or glass doors. Reflections can trigger false motion events and obscure detail.
- If you want facial detail for seated conversations, add a second, lower camera angled at the conversation zone rather than relying on a single high corner camera.
- Adjust motion zones and sensitivity in the camera or recorder to focus on human-sized movement and ignore pets or curtain motion.
Field of view and lens trade-offs: when to pick wide, medium or narrow
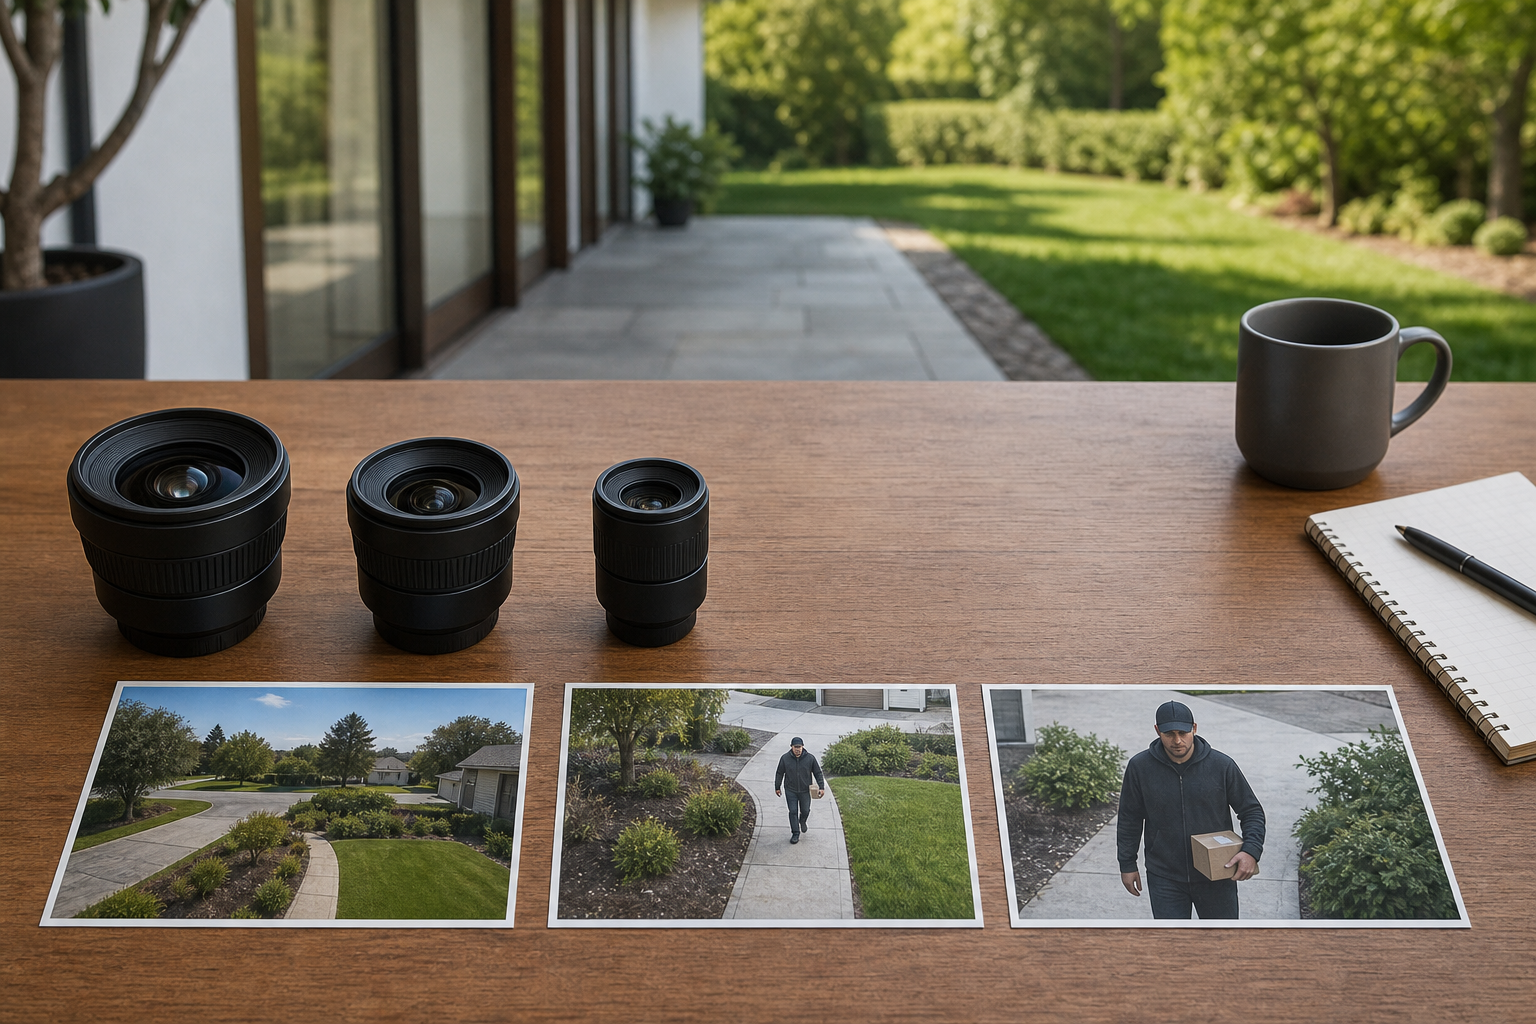
Field of view is the single most important technical choice after placement. In general terms:
- Wide field-of-view lenses capture more area and reduce the number of cameras you need, but subjects appear smaller and identification becomes harder at distance.
- Medium field-of-view lenses balance coverage and subject size and are a good choice for many front-porch and interior applications.
- Narrow field-of-view or telephoto lenses are best for licence-plate capture or long-range face identification because they concentrate pixels on the target area.
Resolution and sensor size also matter. If you choose a narrow FOV for plate capture, pick a camera with higher pixel count so plates remain legible at the chosen mounting distance. For more on how angle, lens and distance interact consult a field-of-view guide that illustrates these trade-offs (CriticalTS field-of-view guide).
Test, adjust and repeat: a simple checklist to find and fix blind spots
Follow this routine to validate placement in one visit. Stop and call a professional if you hit any safety limit such as unsafe ladder work or you cannot route cabling without cutting through finished walls.
- Mount temporarily or hold the camera in position, then walk the primary approach while recording to simulate a real intruder.
- Review recorded footage on the recorder or phone. Check for facial detail at typical distances, licence plate legibility, and areas of shadow or persistent glare.
- Test night performance under the exact lighting conditions you expect. Turn off porch lights and check IR illumination and exposure. If faces are silhouetted, change the tilt or add a fill light.
- Print a simple FOV overlay or use masking tape on the ground to mark the expected cone of view and repeat the walk test to confirm coverage of critical zones.
- Troubleshoot common issues: move the camera away from direct sun or headlights, add physical shades, enable WDR or adjust exposure settings to manage high contrast scenes.
Stop points where you should call a pro include unsafe access, inability to obtain required cable runs, need for conduit or trenching, or when you require vandal-resistant mounts or plate-grade image capture.
When to call a professional and what True Vision will check
Hire a professional site survey when your property has complex sightlines, long cable runs, shared property boundaries, or if you need plate-grade capture. A professional will evaluate the site and recommend camera types, lenses, mounts and cabling to meet your goals.
On a typical True Vision Surveillance site visit technicians will verify field-of-view coverage, measure cable lengths and PoE power requirements, recommend conduit and vandal-resistant mounts when needed, and test angles under daytime and nighttime lighting. They will also advise on weatherproofing and the best combination of fixed, varifocal or PTZ cameras for your property. For site-specific assessments and installations see the True Vision Surveillance website for contact and service details.
Frequently asked questions
What is the best height for a front door security camera to capture faces?
For facial capture you have two reliable options: a video doorbell mounted at eye level, or a camera mounted above the door near second-storey height and angled down. Above-door mounting around 3 m reduces tampering while still allowing identification when angled correctly (Guardian Eye camera placement guide).
How should I angle a driveway camera to capture licence plates and faces?
For licence plates use a dedicated narrow field-of-view camera angled to see the plate squarely at the typical stopping point. For faces combine a wide-angle detector camera with a narrow FOV camera for details. The trade-offs between FOV and detail are explained in equipment guides that show how lens choice affects identification at distance (CriticalTS field-of-view guide).
How do I test my camera angles for blind spots and poor night performance?
Perform a walk test while recording, review footage for reduced detail or shadows, test at night under the same lighting conditions, and adjust tilt, lens or lighting accordingly. If you cannot reach the mounting safely or if tests show persistent blind spots that you cannot eliminate, call a professional.
Can I legally point my camera at a neighbour's property in Canada?
Laws can vary and privacy expectations differ. Avoid intentionally recording private indoor spaces or neighbour windows. Check local bylaws, strata rules, or ask local authorities for advice before mounting a camera that might capture a neighbour's private space.
How do I decide when to hire a professional installer instead of a DIY install?
Call a professional if you need plate-grade capture, fail the safety or cabling stop points in the checklist, or if your site has complex sightlines that require specialized lenses or mounting solutions. A professional installer can also provide vandal-resistant hardware and sealed cabling for Canadian weather conditions.
Ready for a site-specific assessment or professional installation? Contact True Vision Surveillance to schedule a site survey and get an installation plan tailored to your property.